Templates and File Prep
Templates and File Prep Guidelines
Before you get Started…
Here’s the basic requirements for print files.
- PDF files are ideal.
- JPEG or PNG files are also acceptable.
- Files must have ⅛” bleed.
- Keep important elements within the safe area; ⅛” away from the trim line.
Also
- For best results use CMYK colors (not RGB or Pantone).
- Please change all text/fonts to shapes or outlines before saving your file.
- If your design has a black background use a rich black CMYK build (60/50/50/100).
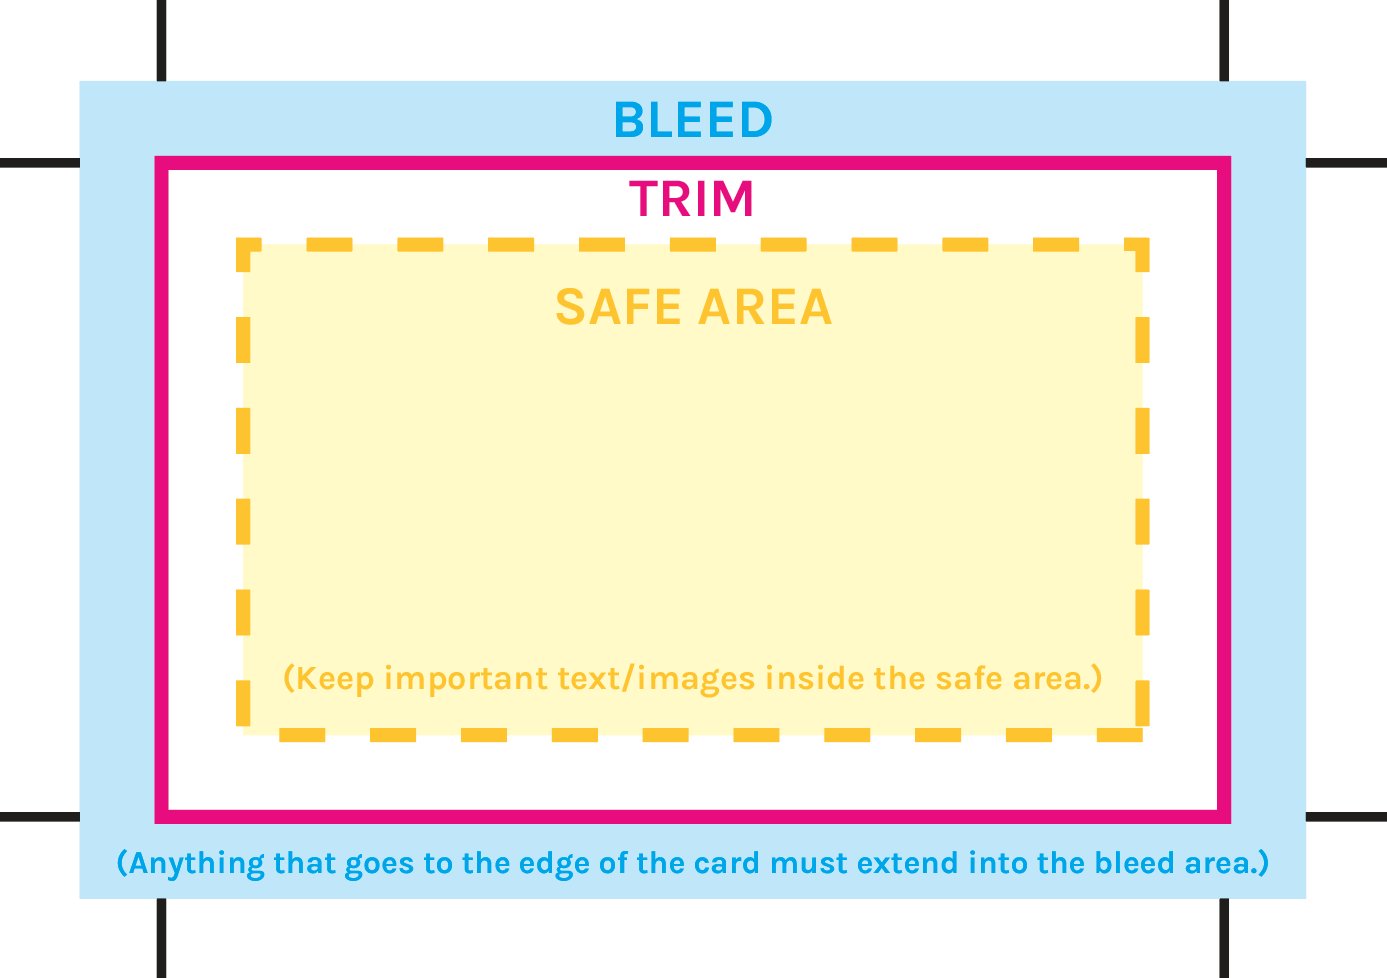
What is bleed?
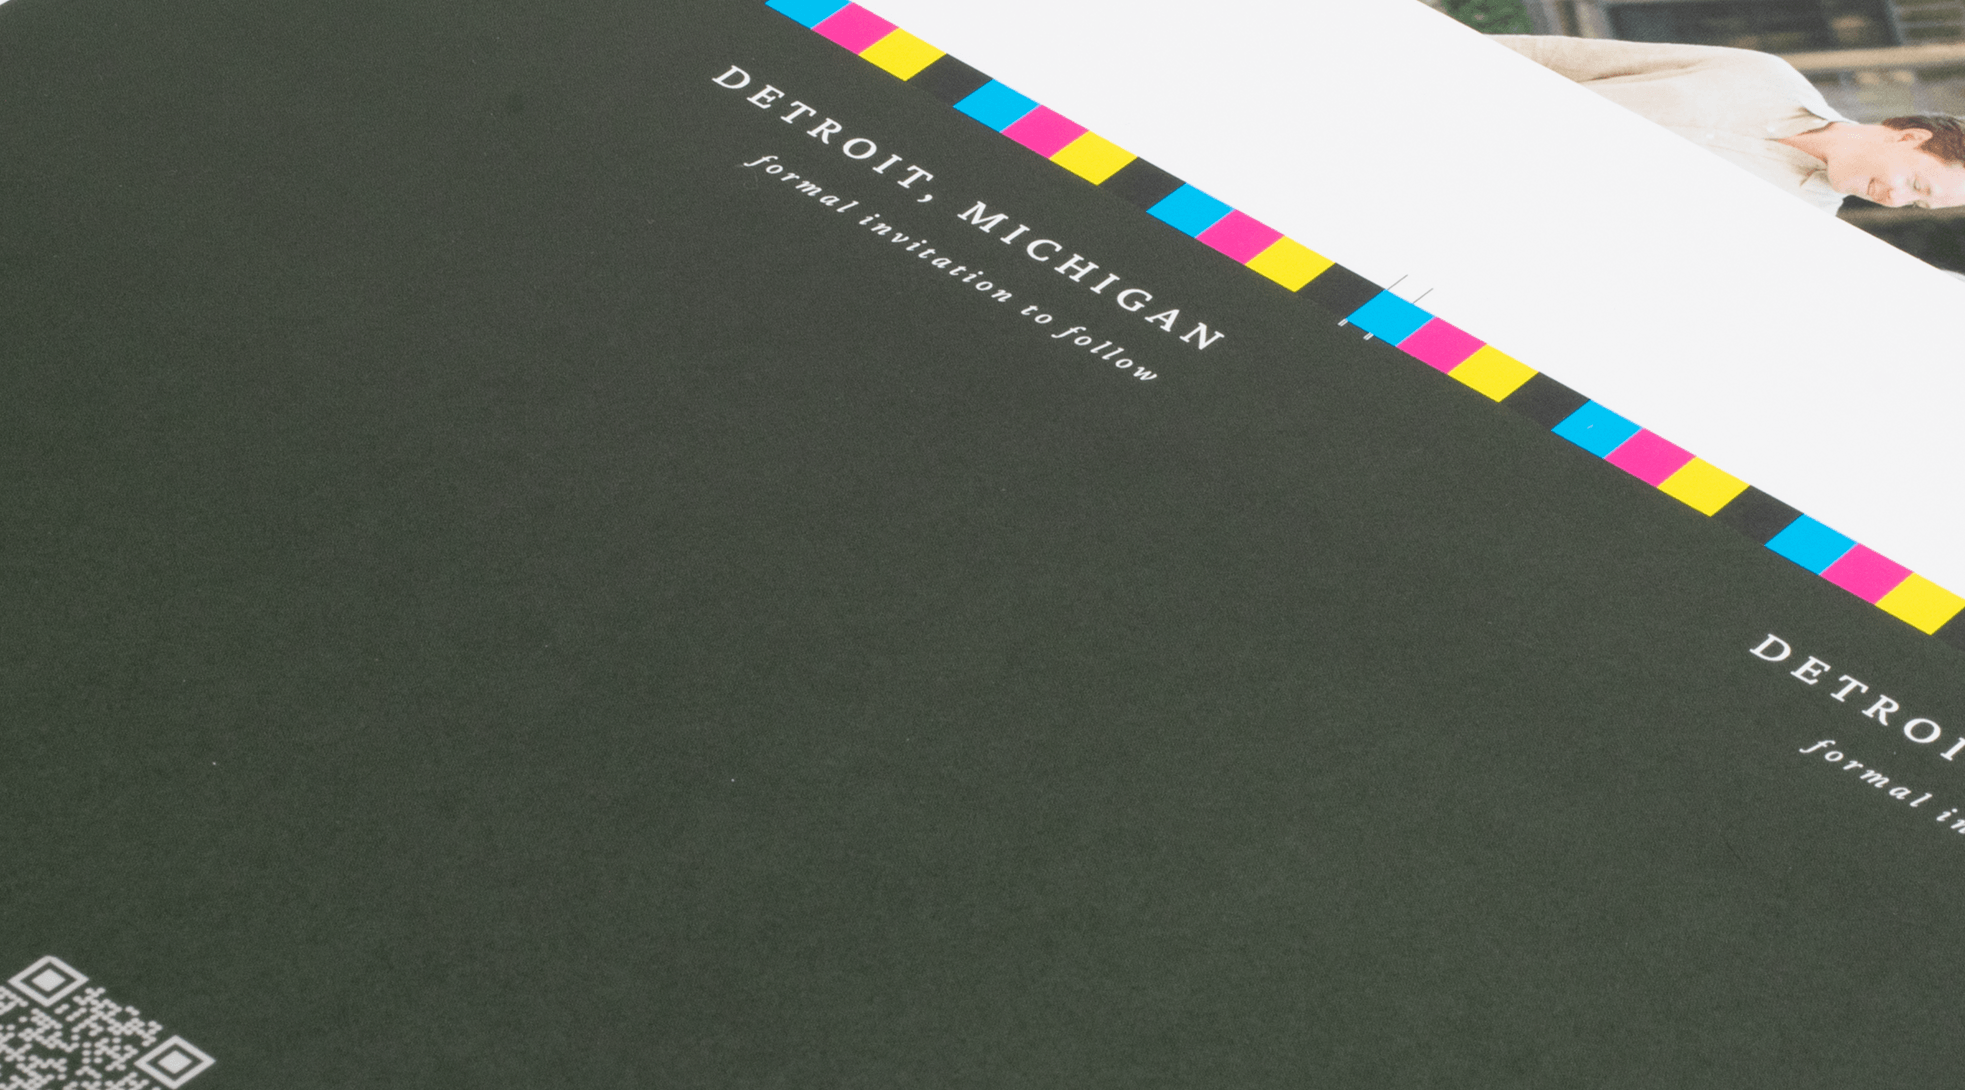
In printing, “bleed” refers to part of the artwork that extends slightly beyond where the cards will be cut. It’s essentially a bit of wiggle room in case the cutting isn’t 100% perfect.
During printing, trimming, and other processes, the sheets can shift around slightly in all directions. Because of this movement, printers require files with “bleed” to avoid seeing a tiny sliver of white along the edges.
Software such as Adobe Indesign, Illustrator, and Canva have built-in settings for bleed. We require ⅛” or 0.125” of bleed on all sides. If you’re using Photoshop, you’ll have to set up your file to be ¼” larger than the intended trim size.
Business Card Templates

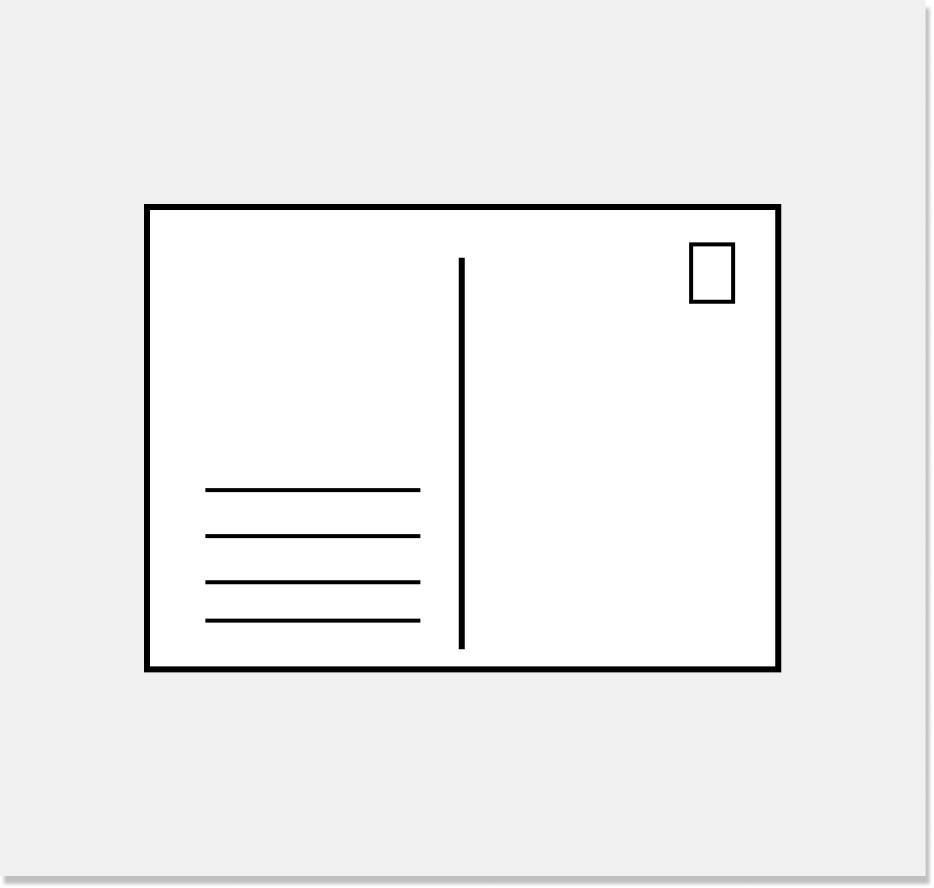
Postcard Templates

Round Corner & Hole Punch
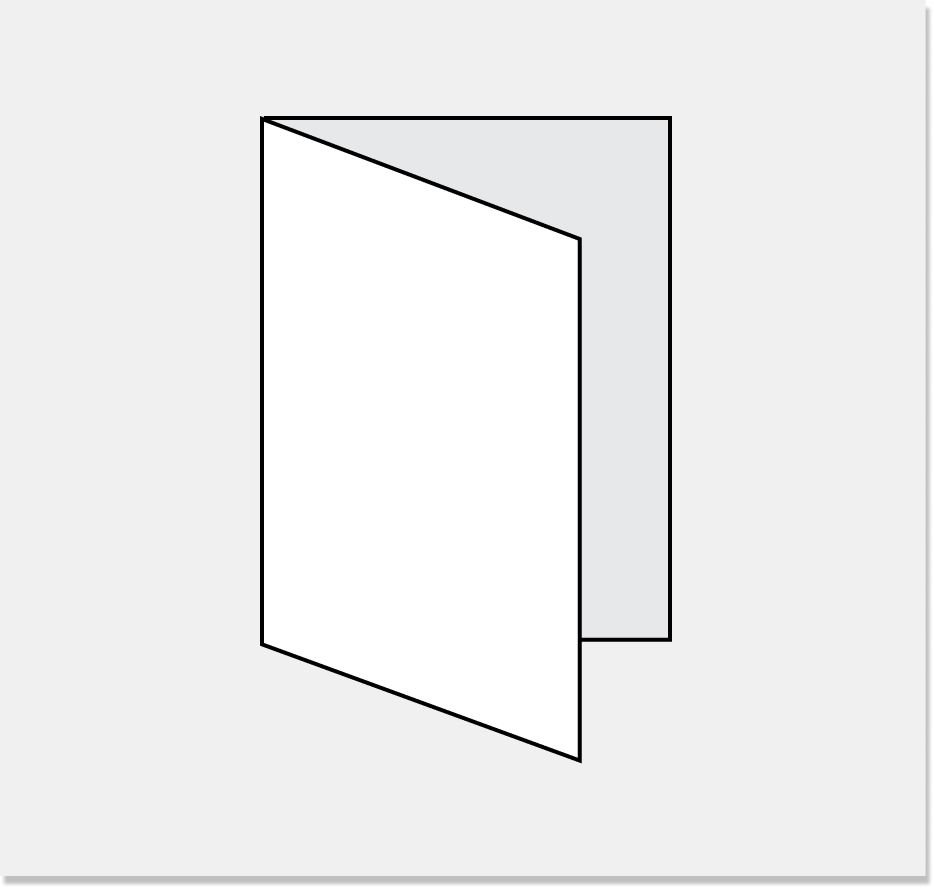
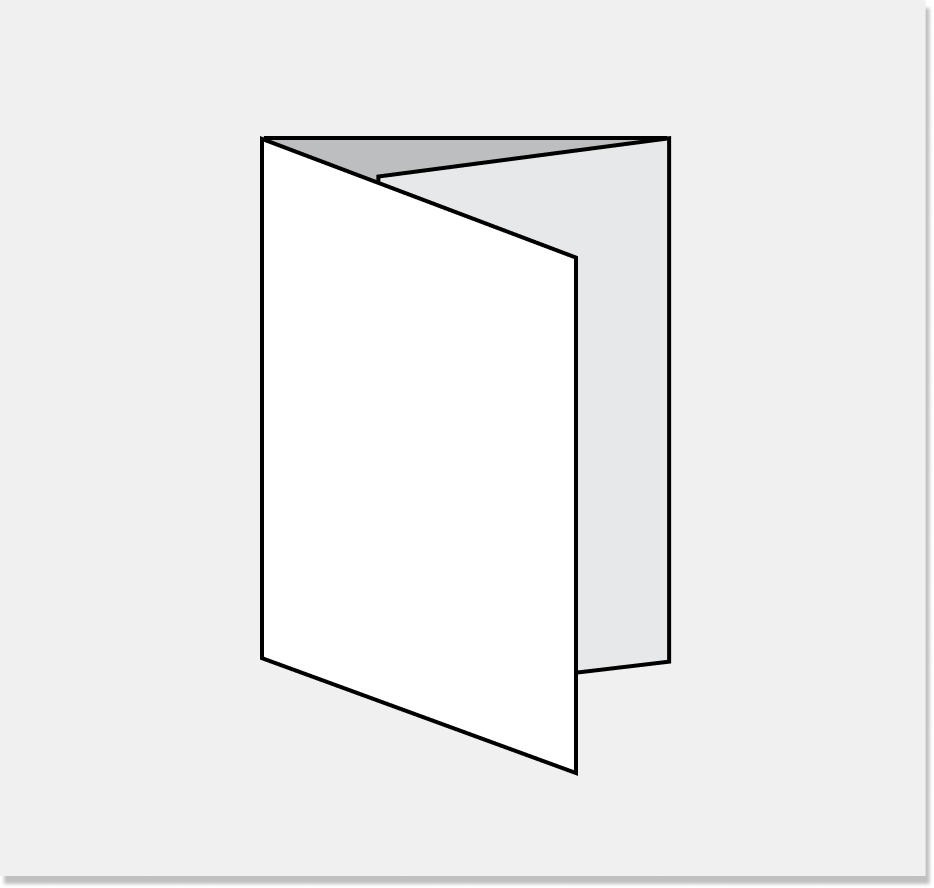
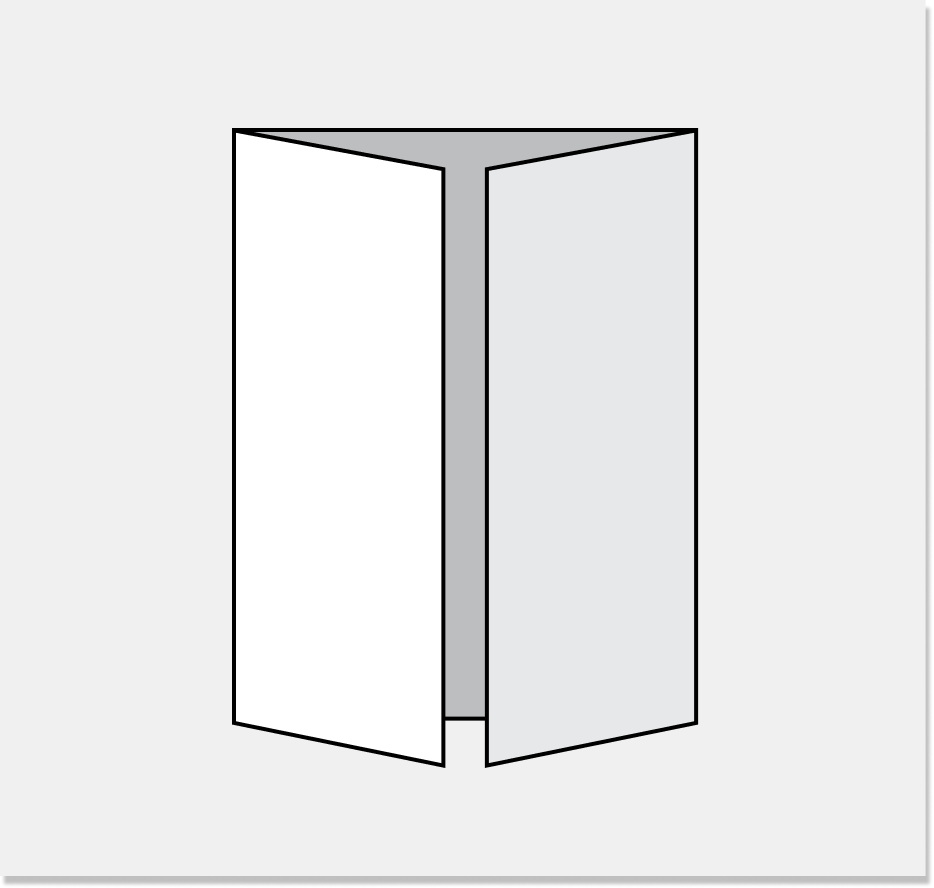
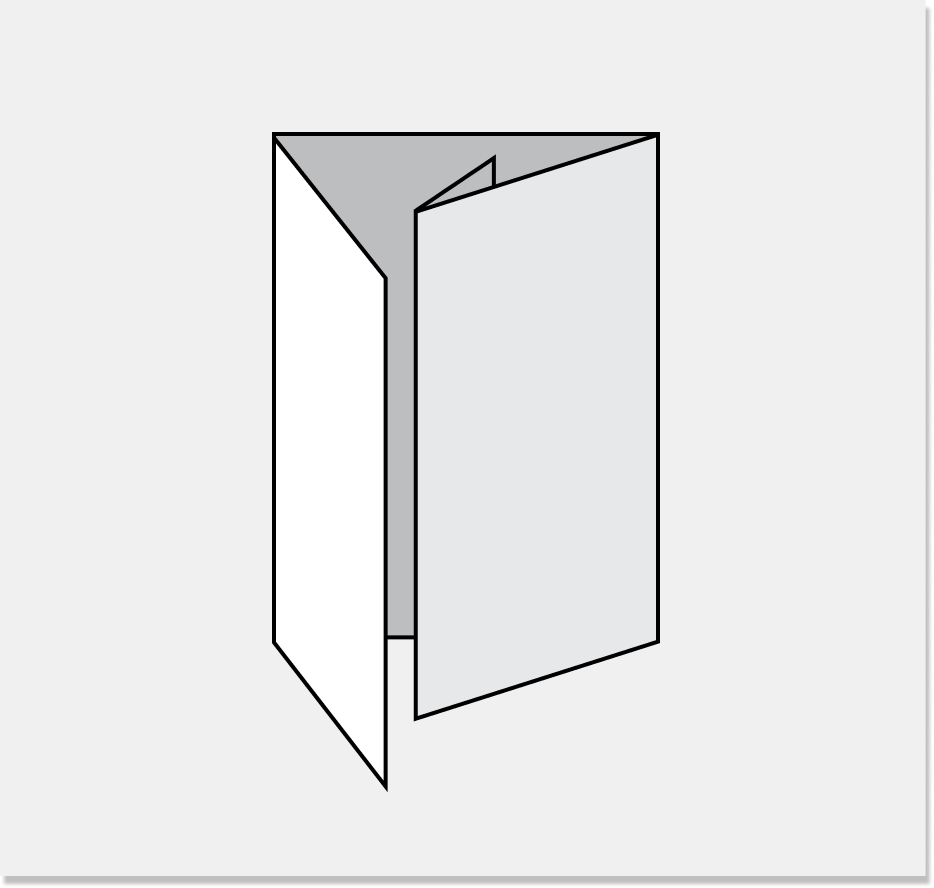
Fold Templates
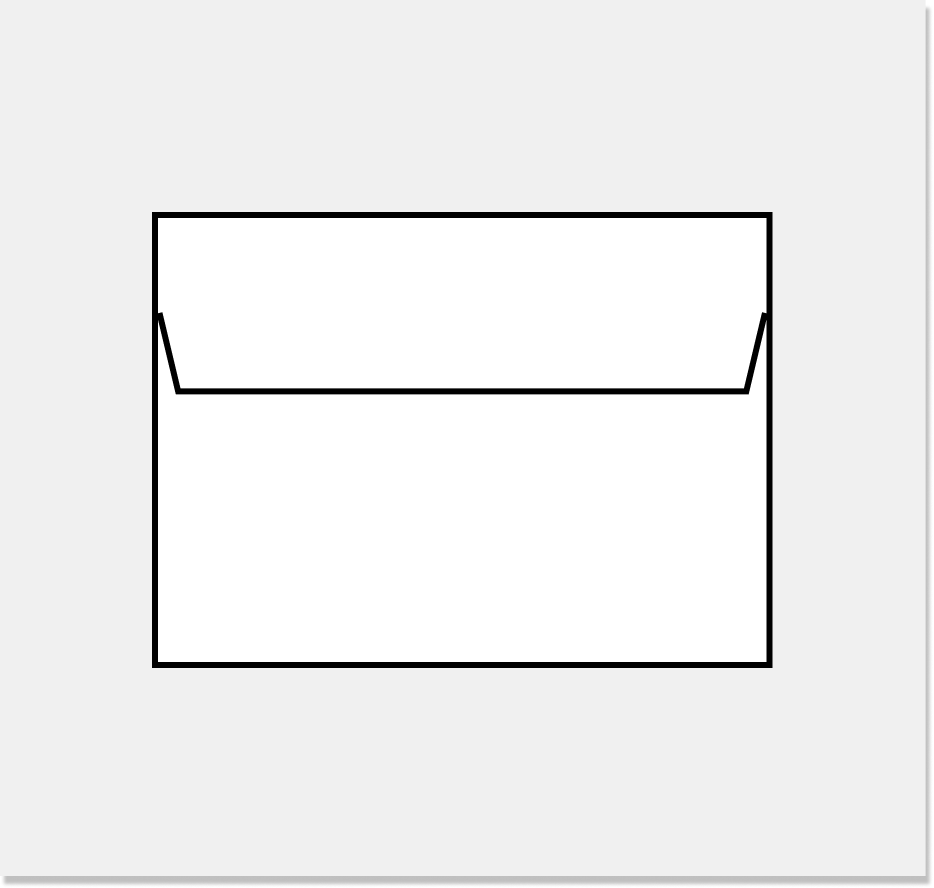
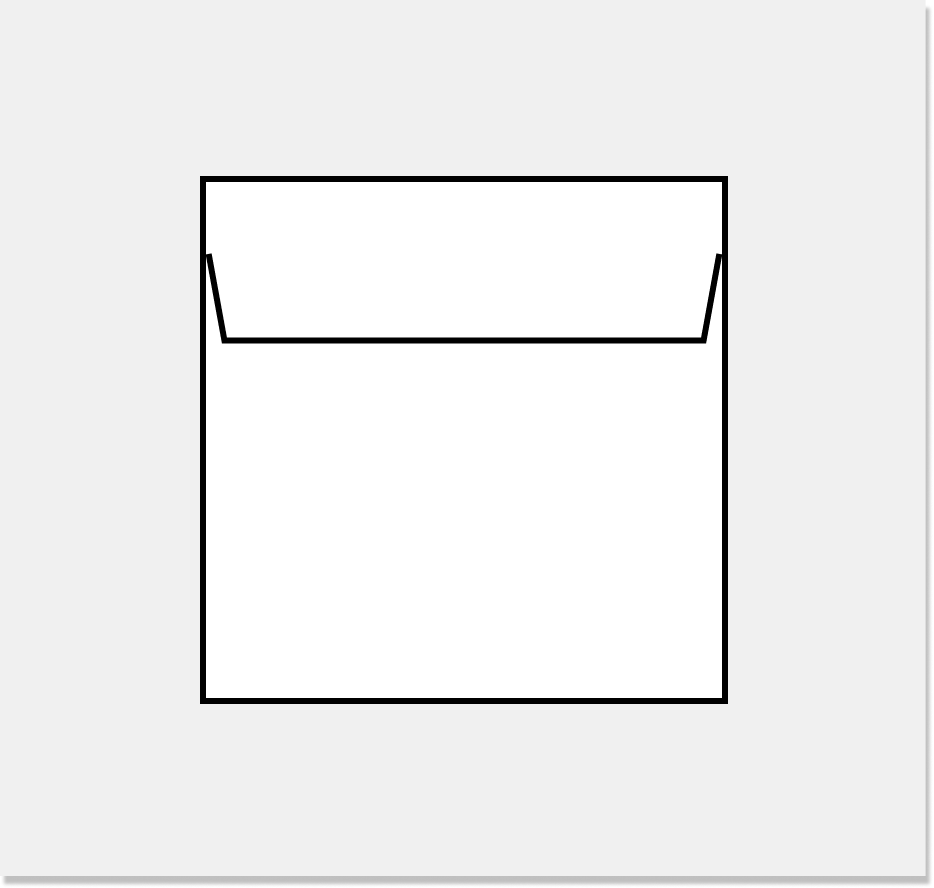
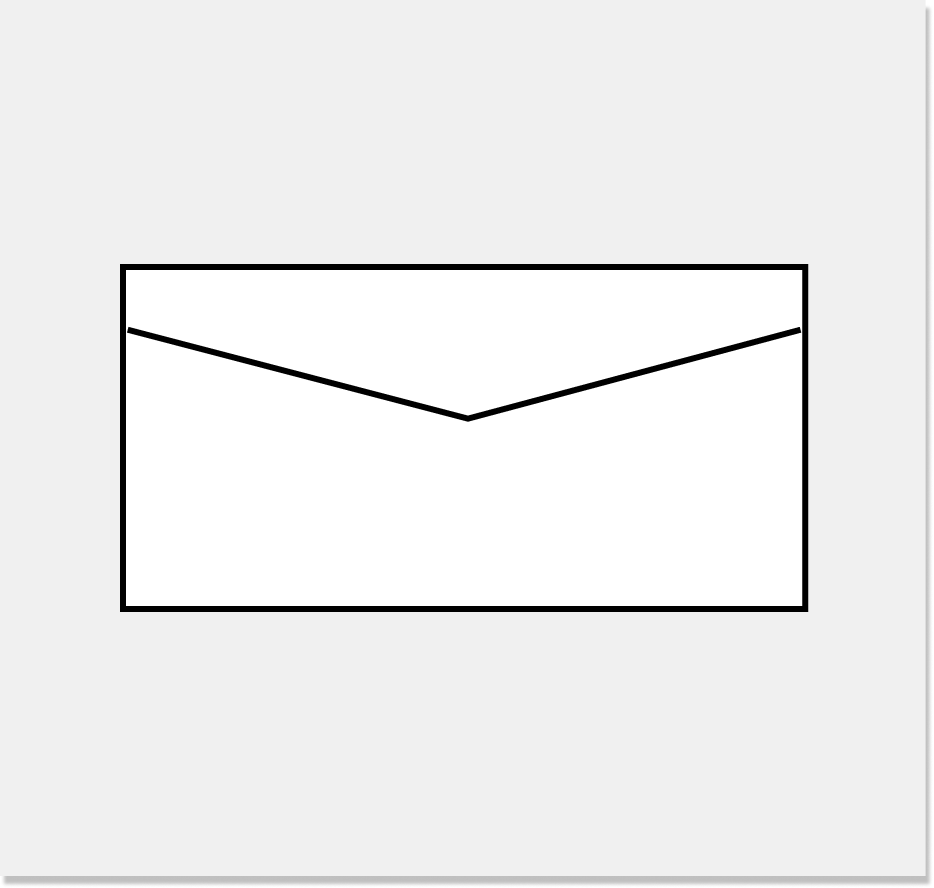
Envelope Templates

Other Example Files
Adobe Illustrator
Set up your art board(s) to the trim size of your card.
In Document Setup, set bleed to 0.125” on all sides and make sure your design extends into the bleed area while designing.
Also make sure your file is CMYK by going to File>Document Color Mode.
Save your file by going to File > Save As and choose PDF format.
Under Marks and Bleeds, make sure to either check the “Use Document Bleed Settings” box or enter 0.125” for all four sides.
Adobe Indesign
Set up your document with your card’s final trim size.
In File>Document Setup, set both the bleed and margins to 0.125”.
Make sure backgrounds or graphics touching the trim of your design extend into the bleed area. And keep important text and graphics inside the margins.
Save your file by going to File > Export and choose PDF format.
In Marks and Bleeds check the box for Crop Marks. Check the “Use Document Bleed Settings” box or enter 0.125” for all four sides.
Canva
Create a new document and set the dimensions to your intended trim size.
Go to File > Settings > Show print bleed. While you’re designing, make sure any backgrounds or graphics along the edges extend into the bleed area.
To export your file, go to File > Download, change the file type to PDF print, and check the box for Crop marks and bleed.
For the color profile choose CMYK if you can. However the free version of Canva only allows RGB. We print in CMYK so just note the colors may not print as vibrant as in your file.
Adobe Photoshop
Photoshop does not have built-in bleed settings so you will need to make your file ¼” larger than the trim size.
(E.g. if your trim size is 5” x 7”, your photoshop file should be 5.25” x 7.25”.)
Add guide lines at ⅛” in from all 4 sides to show where the cards will be cut.
Resolution: 600 ppi
Color Mode: CMYK 8 bit
When complete go to File > Save As > Photoshop PDF.
Select PDF/X1a:2001 standard and in Compression choose Do Not Downsample.